| Automated Design Systems
Newsletters
|
Inventor 5.0 Tips
Patterns of Parts
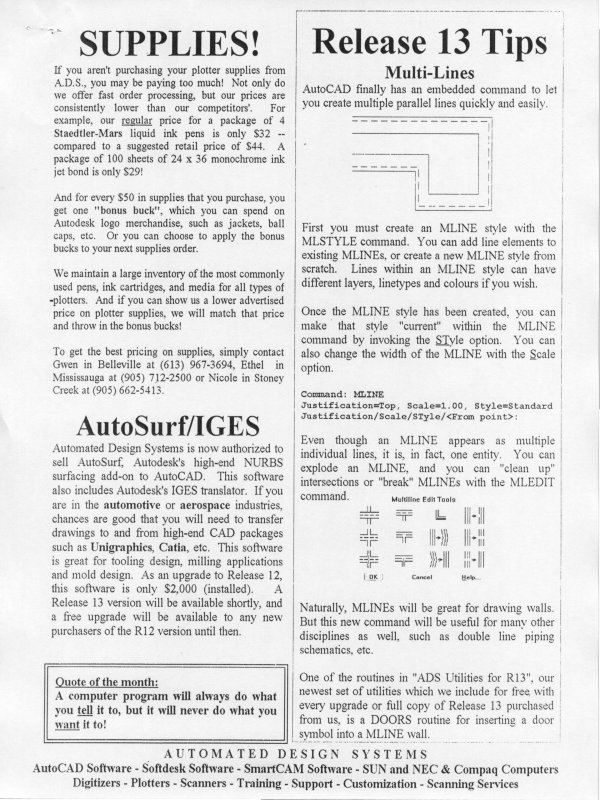
It’s easy to create a pattern (array) of holes or other features
in your part, right? So shouldn’t it be as easy to place, say,
a fastener into each of those holes as well? Well, with
Autodesk Inventor, creating arrays or patterns of parts is a
snap. Simply use the Pattern Component function.
First, place one instance of the component to be ‘patterned’
into your assembly and constrain it into your assembly.
Then, invoke the Pattern Component function from the
Assembly tool menu.
If you already have the fastener constrained into a hole that
has been arrayed, the process for having that same fastener
appear in the rest of the holes is unbelievably simple: select
the fastener! Inventor will use that fastener and its
constraint relationship with the array to duplicate that same
fastener into every other hole of the array. This way, if you
ever change the number of holes, the number of fasteners
will change as well!
Alternatively, you can do it the hard way by selecting the
Circular tab in the Pattern Component dialog box, selecting
a round feature around which to array the components, and
then entering the number of components and angular
spacing between each.
Either way, using Component Patterns is far easier than
inserting each component manually.